
More than a year ago I saw a post on Bloesem Living about the home of a woman living in Amsterdam. Among the photos of her home was this fabulous shot of a wall mural she had done inspired by a cross stitch pattern. I immediately clicked over to her blog, Eline Pellinkhof, to try to find out more. And of course, I pinned it to my home dec board on Pinterest.
When we found out that this baby was a girl I immediately knew I wanted to do a vintage/sewing inspired nursery and knew that the cross stitch mural would be perfect. And so yesterday, I finally had a chance to tackle the project.
I spent some time online finding just the right cross stitch pattern and then picked up some small bottles of craft paint the last time I was at Michael's. Yesterday morning I started by drawing out the grid on the wall using a level and some chalk. I decided to make it easier on myself and just use the width of the level as the size of each square. This part took a while, I won't lie, but it probably would have gone a lot faster with the help of another adult instead of a three year old.
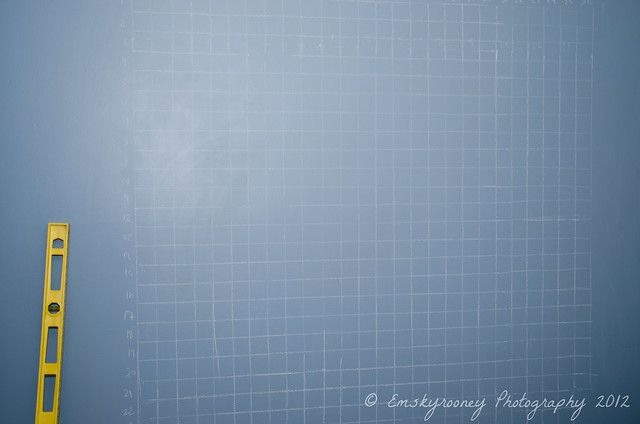
The wall to start. This is the wall immediately to the left when you enter the nursery from the hallway:

The grid of chalk lines:
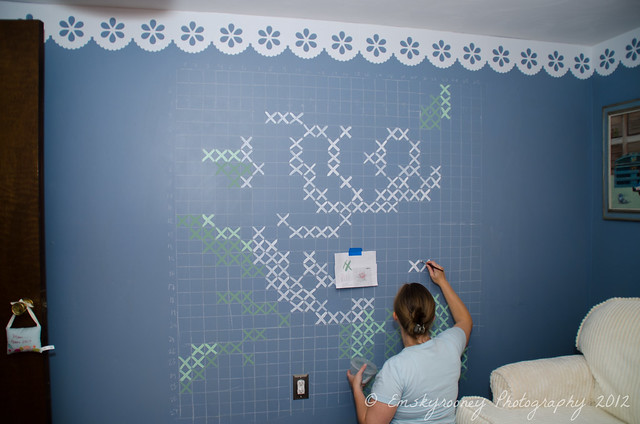
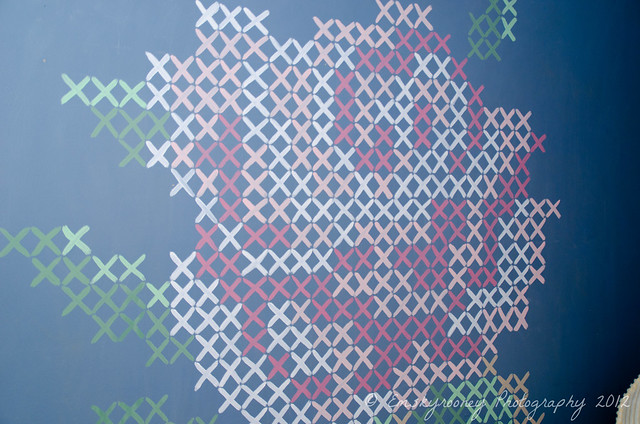
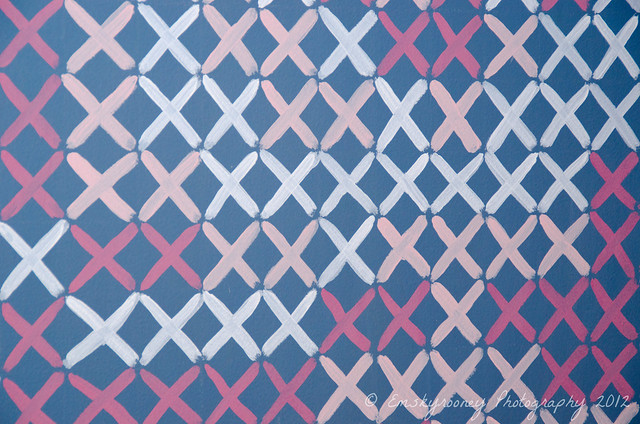
Then, using my cross stitch pattern, I began painting in the x's one color at a time:

And kept going:
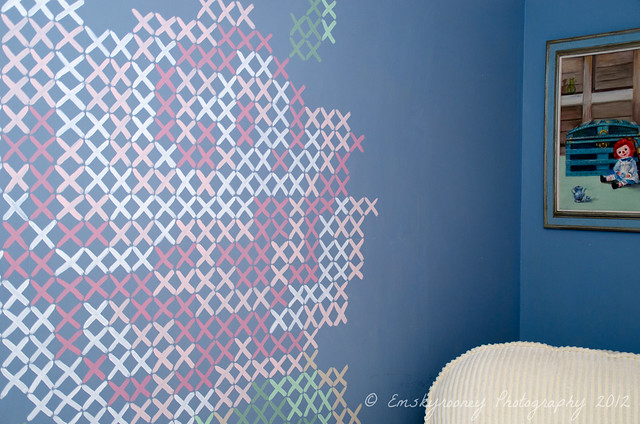
And going:
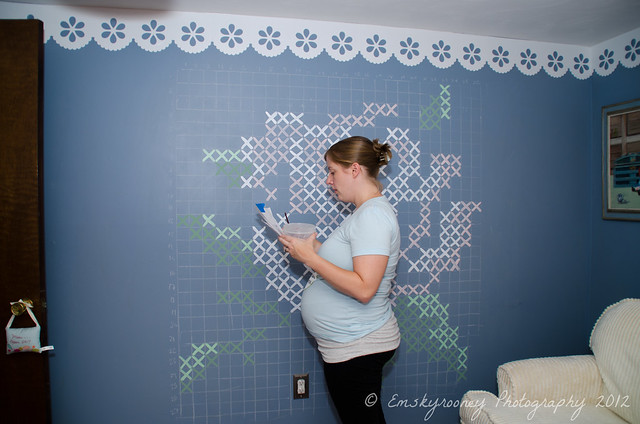
And going:
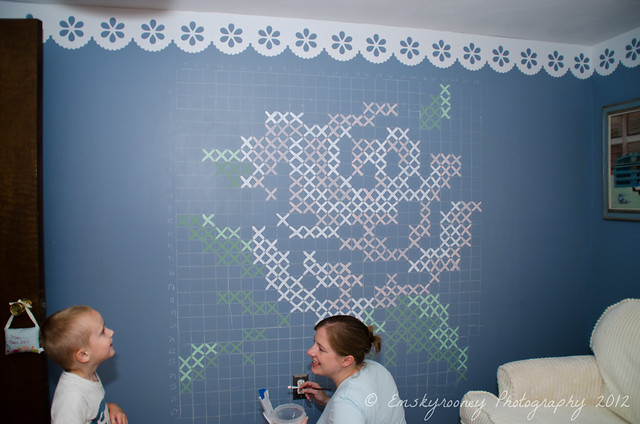
And the final result!
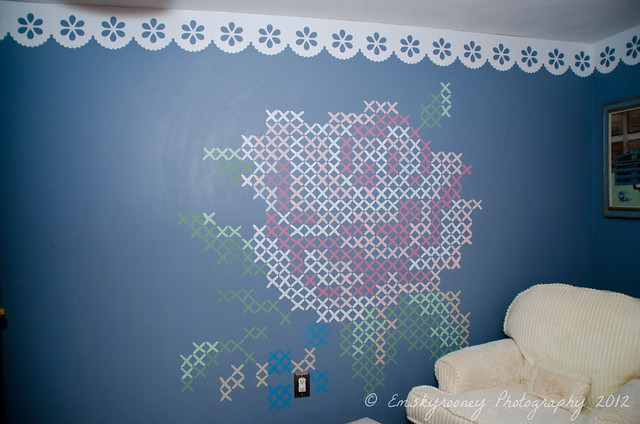
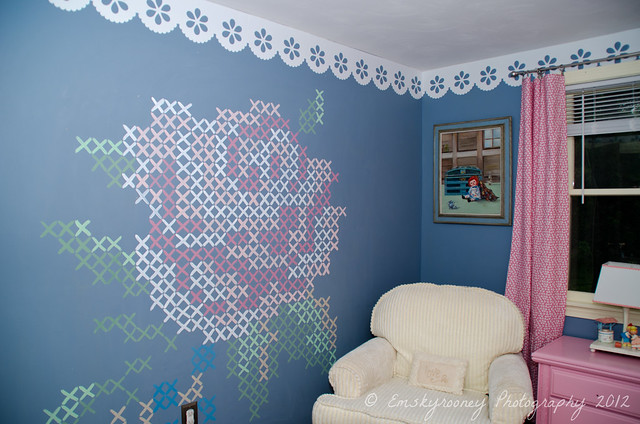
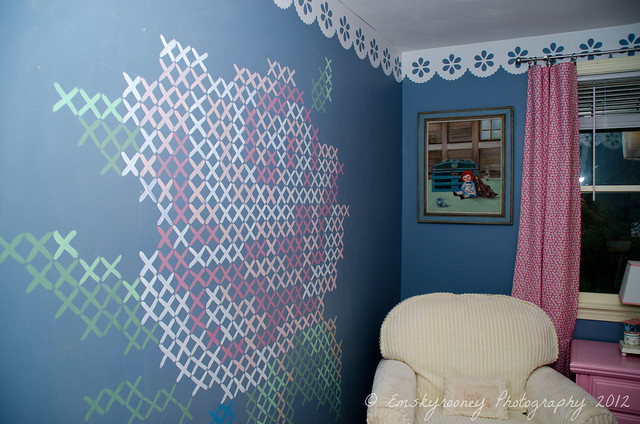
I'm so in love with how this turned out and it was really pretty easy. I worked on it in bits and pieces throughout the day, stopping to give LP his lunch and things, and I'd say it took me about 4 hours total. The painting isn't perfect, but it's supposed to look hand painted. I'm not in love with the few blue x's so might change those to a paler color, a lighter greyish blue but other than that I love it and it adds so much personality to the nursery.
Hooray for another project crossed off my list!
That looks awesome Em! Such a great idea for the room :-)
ReplyDelete