
I've had this idea to build LP a marble run for a while now. He always loves the ones we see when we're out and about- at people's houses or at the Children's Museum. When my sewing table came packaged in a box with these great sturdy cardboard pieces I knew I could put them to use.
Last week I finally had the time and motivation to attempt this little project. And while the results aren't what I would call fantastic looking, it's definitely provided hours of entertainment for LP already!
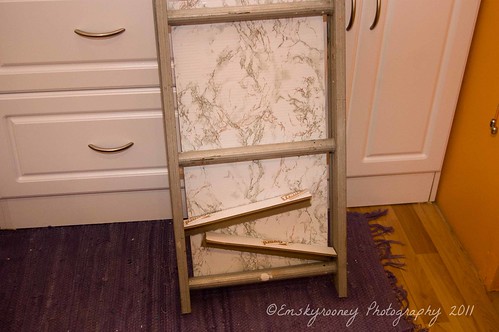
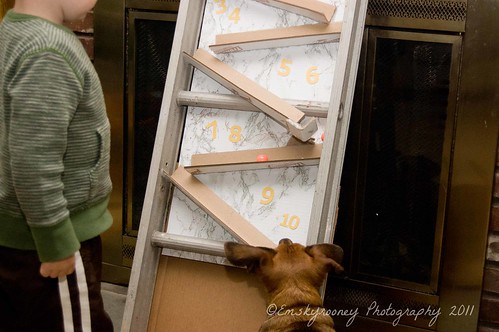
I started with the stiff cardboard packaging pieces (those V-shaped long pieces in the picture below), some random cardboard boxes, and this little ladder that was left in our basement by the previous owners. We have no idea what it was used for, as it's only about 3 feet long so I decided to put it to good use instead of just trashing it.
Last week I finally had the time and motivation to attempt this little project. And while the results aren't what I would call fantastic looking, it's definitely provided hours of entertainment for LP already!
I started with the stiff cardboard packaging pieces (those V-shaped long pieces in the picture below), some random cardboard boxes, and this little ladder that was left in our basement by the previous owners. We have no idea what it was used for, as it's only about 3 feet long so I decided to put it to good use instead of just trashing it.

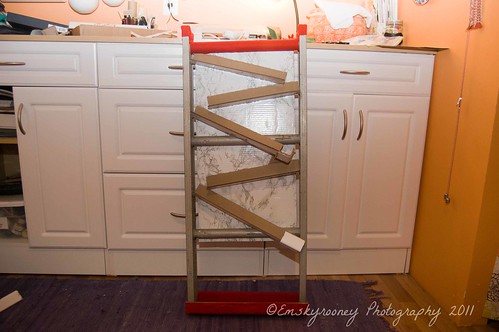
Armed with my trusty glue gun and some leftover contact paper, I started by covering a large piece of cardboard with contact paper and then gluing it to the back of the ladder. Then I started building the marble run by cutting pieces of the V-shaped cardboard lengths and hot gluing them to the back and sides.
Once I got the track done, I glued the ladder legs into an old box and covered the base with red felt to catch the marbles as they fall. I also covered the top of the ladder with felt as it was kind of rough around the edges and I didn't a scratched up kid (or scratched up walls!)
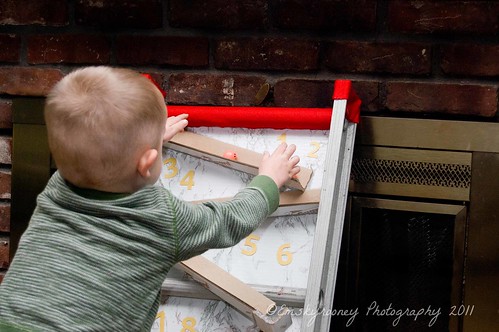
Here's a close up of the track. I had to rig up some little pieces to stick out over the rungs of the ladder.

After a quick trip to pick up some little balls at the dollar store (I ended up buying an 8 pack of small bouncy balls, they fit perfectly!), I leaned the ball run up against the fireplace and let LP go to town.
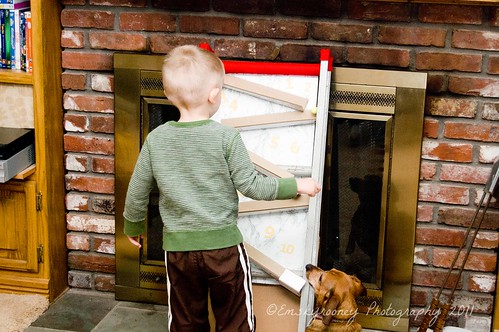
It's a huge hit with both LP and with Gabby! They both love watching the balls roll down the tracks and then chasing after any that bounce away. LP's favorite trick is to send all 8 balls down the track at once- he sorts them by color (there are 2 each of 4 colors) and cracks up if they get stuck or bounce off.
Total cost? $1 dollar for the balls plus about 2 hours of my time. I used junk we had laying around the house and went through at least 10 glue sticks in my glue gun and it was totally worth it!

Comments
Post a Comment