
Since getting my Silhouette SD I've had a ton of fun using it for various projects. Here's a few things I made recently but couldn't share on the blog until they'd all been given to the recipients!
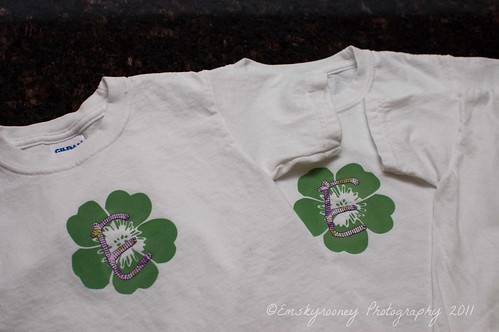
For our little college reunion I made matching initial t-shirts for all the kids. The three girls all have names that start with "E" so they're all the same. I used green flocked heat transfer material to cut out a pansy shape (the "official flower" of the sorority all of us moms belonged to) and then cut the initials out of a coordinating fabric. The pansies were ironed on and then I used an applique stitch on my sewing machine to stitch the initials in place.
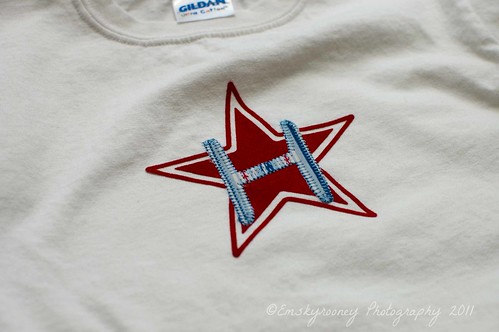
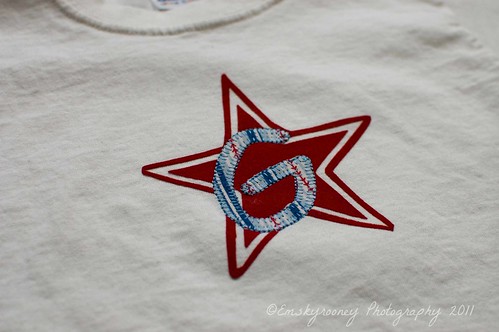
The little boys all have different initials but the process was the same. For the boys I used red flocked heat transfer to cut out stars (another sorority symbol- it was sort of an inside joke for the moms) and then stitched the initials on.
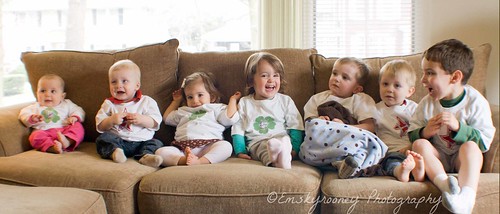
And here's a group shot of all the kids:

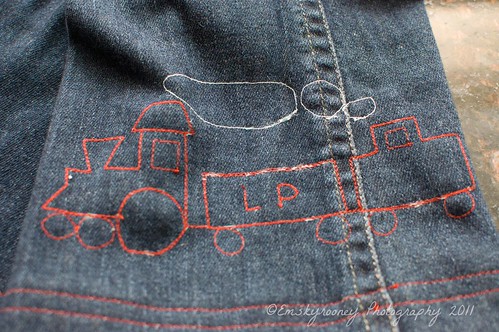
I used red stitching to add pockets to the pants and to do the hems. I also decided to stitch a little red train on one leg of the pants.
Those little pieces of white you can see in the red stitching below are pieces of the tearaway stabilizer. They all came out in the wash and it looks great now!
(also, because I used an old pair of my pants to make these I was able to cut the pattern in such a way that I didn't have to stitch the outside leg seams of LP's pants- I just used the seams on the pants I was cutting up. Saved me a step!)
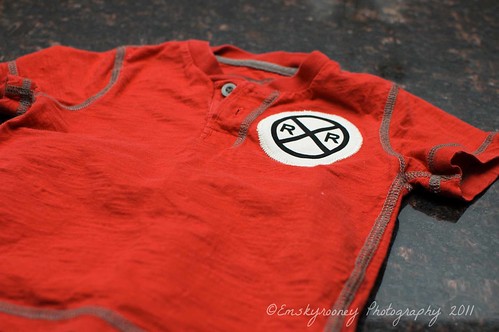
I then pulled a red shirt out of LP's drawer that originally had a little skull and crossbones graphic on it. I used my Silhouette to cut out a Railroad Crossing sign from the black flocked heat transfer and ironed it onto a white circle of fabric which I then stitched onto the shirt, covering the skull and crossbones.
I have tons more clothing to recycle and reuse (Paul and I both went through our closets recently- anything that was in really good shape will be donated but anything with fraying hems or stains will be repurposed by me) so watch out for some more projects coming soon!

For our little college reunion I made matching initial t-shirts for all the kids. The three girls all have names that start with "E" so they're all the same. I used green flocked heat transfer material to cut out a pansy shape (the "official flower" of the sorority all of us moms belonged to) and then cut the initials out of a coordinating fabric. The pansies were ironed on and then I used an applique stitch on my sewing machine to stitch the initials in place.
The little boys all have different initials but the process was the same. For the boys I used red flocked heat transfer to cut out stars (another sorority symbol- it was sort of an inside joke for the moms) and then stitched the initials on.
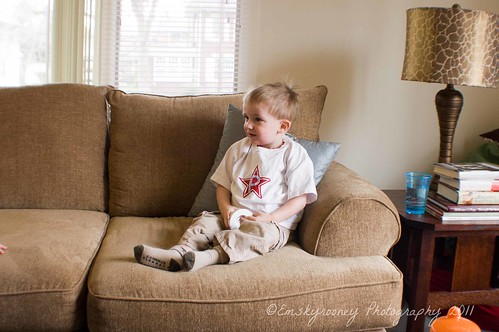
Here's LP in his shirt:
And here's a group shot of all the kids:
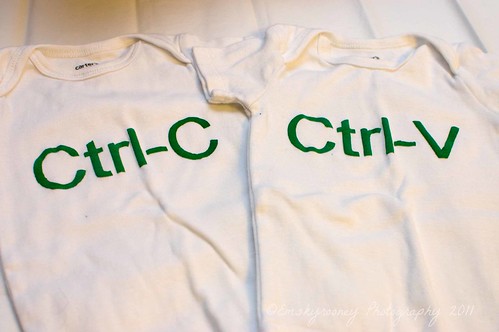
I also whipped up this cute set of onesies for friends who recently had twin girls. Mom and Dad are into computers so I thought the "Copy" and "Paste" commands would be pretty cute. These were cut out of freezer paper on my Silhouette and then stenciled onto the shirts with fabric paint.
And for their older brother I did a Nikon camera shirt (Dad is a photographer). The camera body was stenciled on and the lens cap and strap were stitched by machine.
One other project I squeezed in before our trip to PA was to make LP a new pair of pants using a free pattern I found on one of my favorite blogs, Made. LP is in a tough stage for pants sizing- he's between a 2T and 3T for length but still needs an 18 month or 2T for waist size. This pattern is easily adjustable so that you can get a perfect fit. Of course, I couldn't just make plain denim pants and so I decided to do a little embellishing.
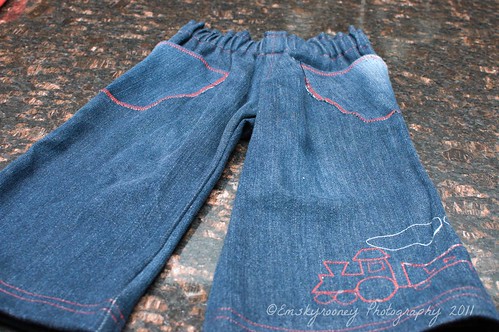
I used red stitching to add pockets to the pants and to do the hems. I also decided to stitch a little red train on one leg of the pants.
I drew a simple train on a scrap piece of tear-off stabilizer that I use when doing machine embroidery. I pinned it to the pants leg (before I sewed the inner leg seam closed) and then just used my sewing machine to stitch over the drawing, going over each line a couple of times until I thought it looked good. I tore away the stabilizer and the train was done!
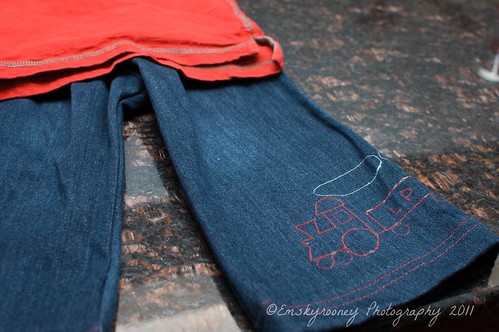
Those little pieces of white you can see in the red stitching below are pieces of the tearaway stabilizer. They all came out in the wash and it looks great now!
(also, because I used an old pair of my pants to make these I was able to cut the pattern in such a way that I didn't have to stitch the outside leg seams of LP's pants- I just used the seams on the pants I was cutting up. Saved me a step!)
I then pulled a red shirt out of LP's drawer that originally had a little skull and crossbones graphic on it. I used my Silhouette to cut out a Railroad Crossing sign from the black flocked heat transfer and ironed it onto a white circle of fabric which I then stitched onto the shirt, covering the skull and crossbones.
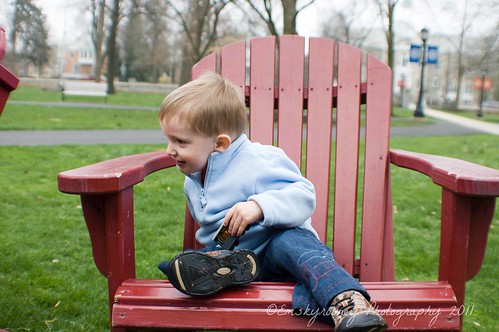
He really likes his new train outfit although I don't have any great photos of him in it yet. Here's a not so hot picture of him in the pants:
The best part? LP got a new, totally personalized outfit for $0 and about 2 hours of sewing time (I got it all done during one of his afternoon rests)!
Hi there! Great projects and what a nice blog. I'm constantly working on projects myself. You recently left a comment on my blog on PMS and I sent you a follow-up question. I just realized that you probably didn't sign up to receive email follow-up comments. Do check it out when you get the chance. Thanks!
ReplyDelete