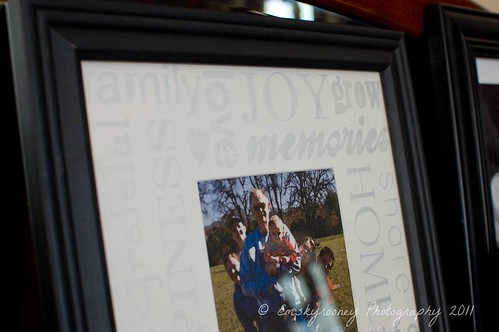
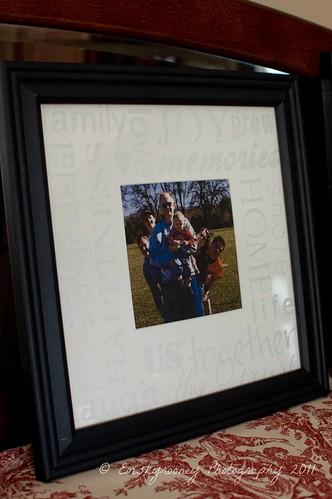
Wanted to share this project I did recently with my Silhouette! I picked up a cheapy frame at Michael's (I swear, frames are ALWAYS on sale there- got this one for $5!).
I've always been fond of type and fonts and have been loving all of the "subway" inspired art I've seen around lately- here's a link to a bunch of examples of what I'm talking about on Etsy.
I used my Silhouette program to design a 10x10 image with a 5x5 opening in the middle (the same dimensions as the photo mat). I added text with words relating to "family" within that space, turning them and resizing them until they fit the way I wanted them to. I then used my Silhouette to cut it out onto contact paper that I had laying around. After "weeding" the design, which basically means pulling away all the pieces you don't want to use (in this case, I weeded the letters so I'd be left with a stencil) I peeled the backing off the contact paper and stuck it down on the front of the glass.

I'd recently purchased the largest bottle of Armor Etch that I could find at Michael's (I'll warn you, the large bottle was almost $40 but armed with a coupon I got it for $20- and it will last FOREVER and is way more economical to buy in bulk). I buffed all the edges of the contact paper down onto the glass with an old credit expired credit card and then taped off the edges and the middle of the glass. I then slathered the Armor All all over the top, making sure to get a nice even coat. Leave it on for a few minutes (the directions say 5 minutes I think but I always leave it a bit longer), then rinse it under running water and peel away the contact paper. It won't look like anything happened at first, but trust me- it works!


I've always been fond of type and fonts and have been loving all of the "subway" inspired art I've seen around lately- here's a link to a bunch of examples of what I'm talking about on Etsy.
I used my Silhouette program to design a 10x10 image with a 5x5 opening in the middle (the same dimensions as the photo mat). I added text with words relating to "family" within that space, turning them and resizing them until they fit the way I wanted them to. I then used my Silhouette to cut it out onto contact paper that I had laying around. After "weeding" the design, which basically means pulling away all the pieces you don't want to use (in this case, I weeded the letters so I'd be left with a stencil) I peeled the backing off the contact paper and stuck it down on the front of the glass.

I'd recently purchased the largest bottle of Armor Etch that I could find at Michael's (I'll warn you, the large bottle was almost $40 but armed with a coupon I got it for $20- and it will last FOREVER and is way more economical to buy in bulk). I buffed all the edges of the contact paper down onto the glass with an old credit expired credit card and then taped off the edges and the middle of the glass. I then slathered the Armor All all over the top, making sure to get a nice even coat. Leave it on for a few minutes (the directions say 5 minutes I think but I always leave it a bit longer), then rinse it under running water and peel away the contact paper. It won't look like anything happened at first, but trust me- it works!

I messed up my placement a bit, and there's a little blank spot right there above the word "together" but oh well. I'd planned to put a photo of Paul, LP and I in this frame but couldn't find one already printed out in the right size. I remembered that at one point I'd had a photo of my parents, brothers, LP and I printed onto fabric by Spoonflower (another fabulous site if you want to design your own fabric!) so I stuck that in there (the photo I printed had been edited to look like an oil painting- just so you don't think we always look so pixelly and funny!)
I love the way this project came out, and have plans for lots of other glass etching projects. If you don't have a Silhouette, you can still totally do this, just get clear contact paper and smooth it on over the glass. Print the words you want to use onto computer paper and then put them under the glass. Use a craft knife to cut out the words and peel away the pieces you want etched. Easy peasy! I've made a lot of etched glass gifts for people- monogrammed pint glasses for my brothers, etched mirrors, etc. and people always love them. I've even etched most of the cheap-o wine glasses in our house- I slapped a square of contact paper on each one (smooth it out as best you can on a curved surface) then freehanded a butterfly. Slapped the Armor Etch on and now our cheap glasses (seriously, like Walmart cheap) are adorable!
Off to find somewhere to hang my new frame!


could you be more clever? I think not!
ReplyDeleteHow beautiful!
ReplyDelete